What Is the Timbren HD3500SL and Who Needs It?
The Timbren HD3500SL is a heavy-duty, rubber-independent suspension upgrade designed to replace traditional leaf springs or coil springs on trailers and RVs with a gross vehicle weight rating (GVWR) up to 3,500 lbs. Engineered for improved stability, reduced sway, and zero maintenance, it’s a go-to solution for off-road enthusiasts, boat haulers, and utility trailer owners. This guide walks through a step-by-step installation and retrofit process so you can upgrade your trailer’s handling without welding or specialized fabrication.
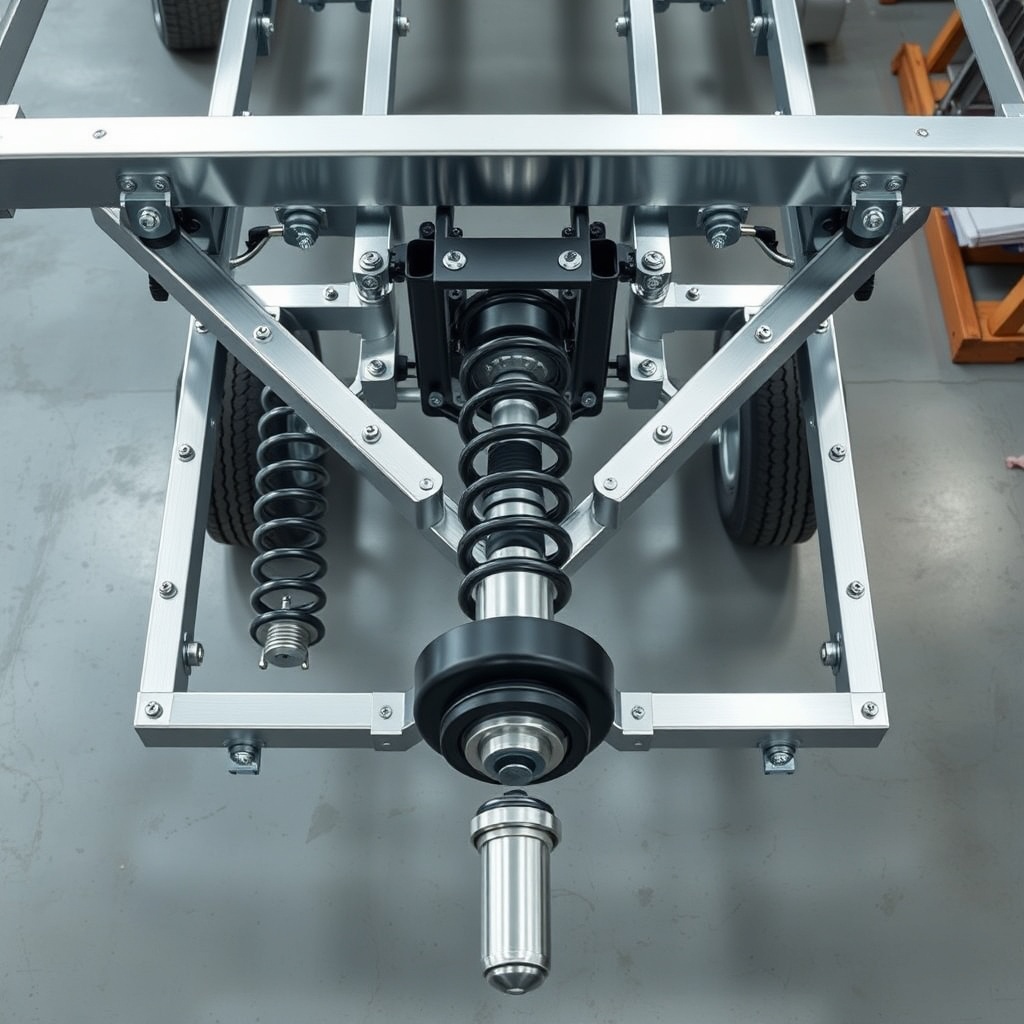
What Tools and Parts Do You Need for the Timbren HD3500SL Installation?
Before beginning, gather the full Timbren HD3500SL kit, which includes two rubber spring units, mounting brackets, U-bolts, and hardware. A detailed parts list is critical because missing fasteners can stall the project. You’ll need a torque wrench capable of 100–150 lb-ft, socket set (10 mm to 24 mm), floor jack, jack stands, penetrating oil for rusted bolts, and a spirit level. A drill with 3/8-inch and 1/2-inch bits may be required if your trailer frame lacks pre-drilled holes. Purchase extra grade-8 bolts if your frame is thicker than 1/4-inch.
Check the Timbren HD3500SL: Optimal Lubrication & Sealing for Long Life for thread locker and anti-seize compound recommendations—essential for preventing corrosion in the spindle and bearing area.
How Do You Prepare the Trailer Frame for a Timbren Retrofit?
Safety is paramount. Park on level ground, chock wheels, and lift the trailer’s frame with a jack under the main I-beam or C-channel. Place jack stands at the front and rear sections. Remove the existing axle, springs, U-bolts, and shackles—expect stubborn bolts; use penetrating oil and wait 10 minutes. Measure the frame width (typically 60 to 80 inches) and ensure the Timbren bracket mounting pads—provided with the kit—align with the original spring hanger locations. If your frame has a slipper spring setup, you’ll need to add a steel plate for the bracket to sit flush.
Retrofitting onto an older trailer often means dealing with surface rust. Wire-brush the mounting area and apply a rust-inhibitor primer. Check the spindle orientation: the Timbren HD3500SL uses a preset 5-degree camber, so no additional alignment is needed. For heavier loads or bearing concerns, reference Timbren HD3500SL: Best Bearing Upgrades for Heavy Loads for oversize bearing options that match the spindle from the factory.
What Is the Step-by-Step Bolting Sequence for the Timbren HD3500SL?
Follow this sequential process to avoid misalignment or torque errors. Each step ensures the rubber spring units load evenly.
- Attach the mounting bracket: Slide the bracket onto the frame rail, aligning with existing holes or drilling new ones at 3-inch intervals. Hand-tighten only.
- Install the rubber spring assembly: Lift the Timbren unit (approx. 25 lbs each) onto the bracket, inserting the pivot bolt through the bracket eye and bushing. Torque to 65–70 lb-ft.
- Secure the spindle arm: The spindle arm comes pre-greased. Slide it into the rubber spring’s sleeve, aligning the locking pin. Bolt the arm to the spring with supplied fasteners—torque to 85 lb-ft.
- Mount the hub and wheel: Using a new grease seal and bearing set (consult the lubrication guide), slide the hub onto the spindle. Tighten the castle nut to 35 lb-ft, then back off 1/6 turn for bearing preload. Insert the cotter pin.
- Repeat for the opposite side: The Timbren system works as a pair; uneven installation causes ride height issues. Use a spirit level to match both hub heights.
- Final torque and check: After 25 miles of driving, re-torque all bolts and pivot points. The rubber spring will settle 1/8 inch initially.
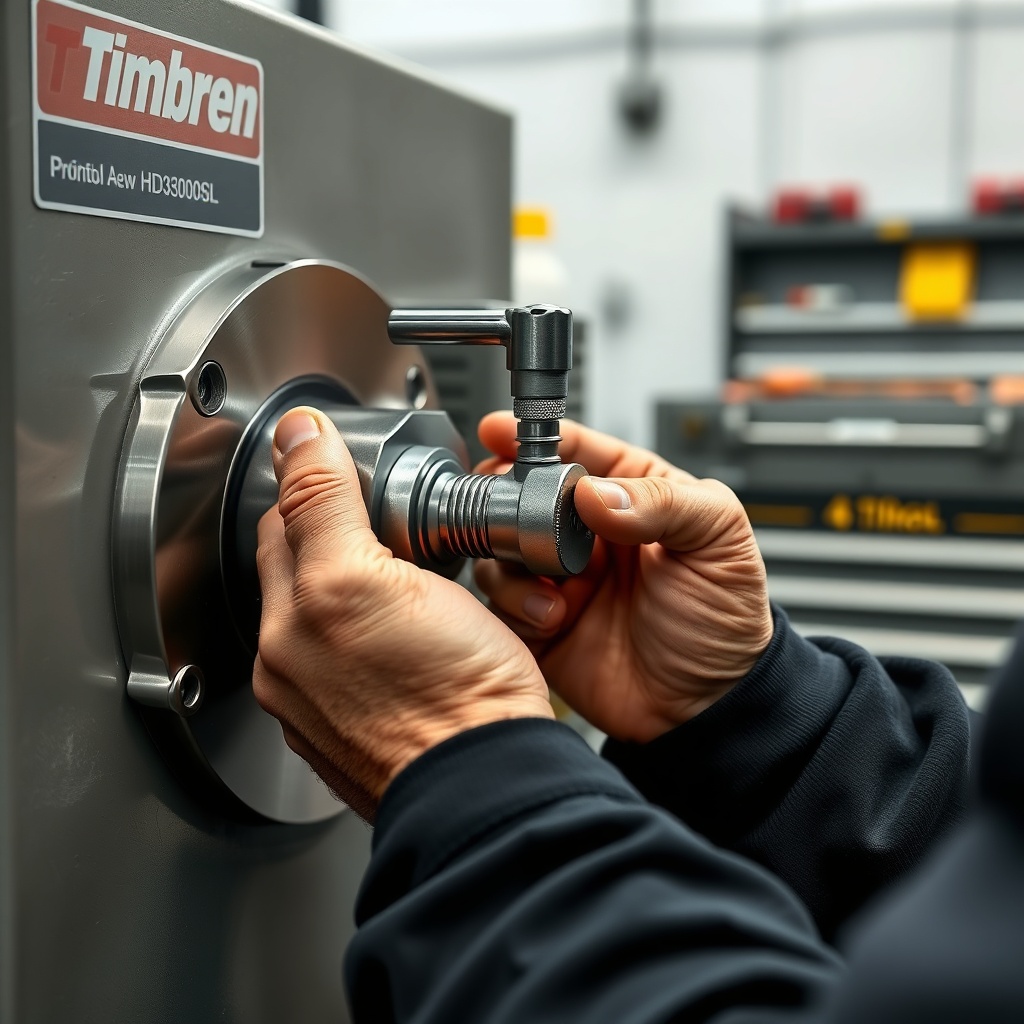
How Do You Retrofit a Timbren HD3500SL onto a Non-Standard Trailer?
Non-standard frames—such as those with a curved chassis or axle-free torsional setups—require adapter plates. The Timbren HD3500SL’s bracket has pre-drilled slots that allow for 2 inches of longitudinal adjustment. For trailers originally using a Dexter 3,500-lb axle, remove the entire leaf system and weld a 3/16-inch steel plate between the frame and bracket if holes don’t align. Measure the distance from the frame bottom to the original hub center: your new spindle center must match within 0.25 inch.
If your trailer has a flip-axle configuration (common in off-road campers), you can still retrofit by inverting the bracket orientation—the kit supports both under-slung and over-slung mounting. Be prepared to cut the existing spring hangers with an angle grinder. Cost for welding and adapter plates runs approximately $150 to $250 USD (approx. £120–£200 GBP) at a local fabrication shop. Always verify the spindle rating against the trailer’s loaded weight using the spec table below.
| Parameter | Timbren HD3500SL | Standard Leaf Axle |
|---|---|---|
| GVWR (per unit) | 3,500 lbs | 3,500 lbs |
| Suspension travel | 2.5 inches | 1.5 inches (limit) |
| Rubber spring life | 150,000 miles (est.) | 40,000 miles (leaf fatigue) |
| Maintenance interval | None (sealed) | Grease every 6 months |
| Brake system compatibility | Electric/hydraulic drums | Electric/hydraulic drums |
| Installed weight (per side) | 28 lbs | 35 lbs (with springs) |
| Typical retail price (USD) | $1,200–$1,400 | $600–$900 |
What Owners Say About the Timbren HD3500SL Retrofit Experience
Adopters consistently highlight two benefits: reduced sway on highways and easier towing at near-max capacity. Larry from Colorado reported, “My 18-foot cargo trailer used to fish-tail above 55 mph with a 3,200-lb load. After the Timbren upgrade, it tracks straight.” The installation effort is praised for being a DIY-friendly two-hour job if the frame is clean. Some owners note that the rubber springs feel stiffer initially—about 50 miles of break-in are required. A common caution: the kit’s U-bolts are grade-5, and switching to grade-8 for heavy use is recommended, as discussed in the bearing upgrade guide. One critique: the higher upfront cost (average $1,300 USD, or about £1,040 GBP) versus leaf spring replacements, but most emphasize the long-term savings from eliminated bearing repacks and shackle replacements.
Frequently Asked Questions About the Timbren HD3500SL
1. Can I install the Timbren HD3500SL on a tandem-axle trailer?
Yes, but you must use two separate kits per axle—four units total. The brackets allow for staggered mounting to maintain proper wheelbase alignment.
2. How long does the installation take for a first-timer?
Plan for 3 to 5 hours, including jacking, removal of the old axle, and torque checks. Experience with frame drilling adds 1 hour.
3. Will the Timbren HD3500SL increase the trailer’s ground clearance?
Yes, by approximately 2 inches compared to leaf springs, due to the axle-less design’s low profile. This helps off-road trailers avoid snagging.
4. Do I need to upgrade the bearings when retrofitting?
Not necessarily, but for heavy towing (above 3,000 lbs) or off-road use, a bearing upgrade to a 1-1/16-inch spindle is recommended—see the bearing upgrade article.
5. What is the warranty on the Timbren HD3500SL?
Timbren offers a 5-year limited warranty against defects in materials and workmanship. Rubber spring deterioration from UV exposure is not covered.
6. Can this system be removed and reused on another trailer?
Yes, the unit unbolts cleanly. The rubber springs retain their shape indefinitely if stored indoors. Replacement hardware costs about $50 USD per side.