Installing the Timbren HD3500SL on your heavy-duty trailer or tow vehicle is a straightforward upgrade, but the devil is in the details. This suspension kit delivers serious load-leveling capability and stability for loads up to 3,500 pounds per side. Whether you’re retrofitting an existing leaf-spring setup or bolting on a fresh axle, this guide covers the critical steps, torque specs, and common pitfalls to ensure a smooth, safe installation.
How Do I Prepare My Trailer for Timbren HD3500SL Installation?
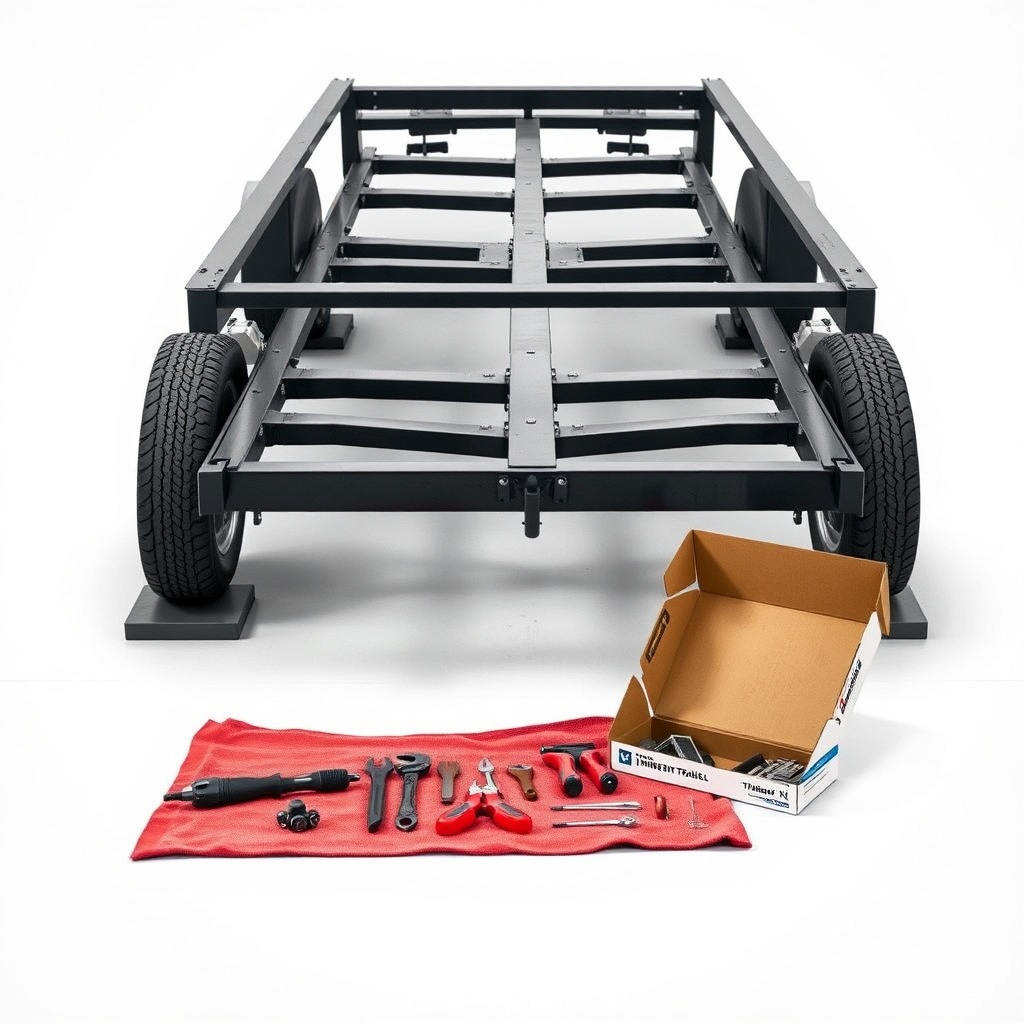
Before diving into the physical install, you need a clear workspace and a trailer in good structural condition. Start by placing your trailer on level ground and chocking the wheels. Inspect the existing suspension components—particularly the spring hangers and axle mounts—for rust, cracks, or deformation. The HD3500SL kit requires a straight, square frame. Any twist or bend will cause binding and uneven load distribution. Measure the distance between the frame rails: the HD3500SL’s mounting brackets need a minimum 34-inch inside width for proper fitment. If your trailer frame is narrower, you may need custom spacers or a different model. Gather these tools: a 1/2-inch torque wrench, sockets (13/16, 7/8, 15/16), a drill with step bits for pilot holes, and anti-seize compound. Also, have a helper on hand—the rubber spring unit weighs about 25 pounds, but awkward handling makes it a two-person job.
What Are the Exact Steps for Bolt-On Installation?
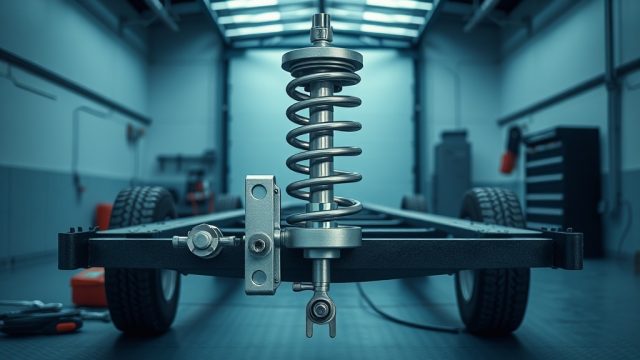
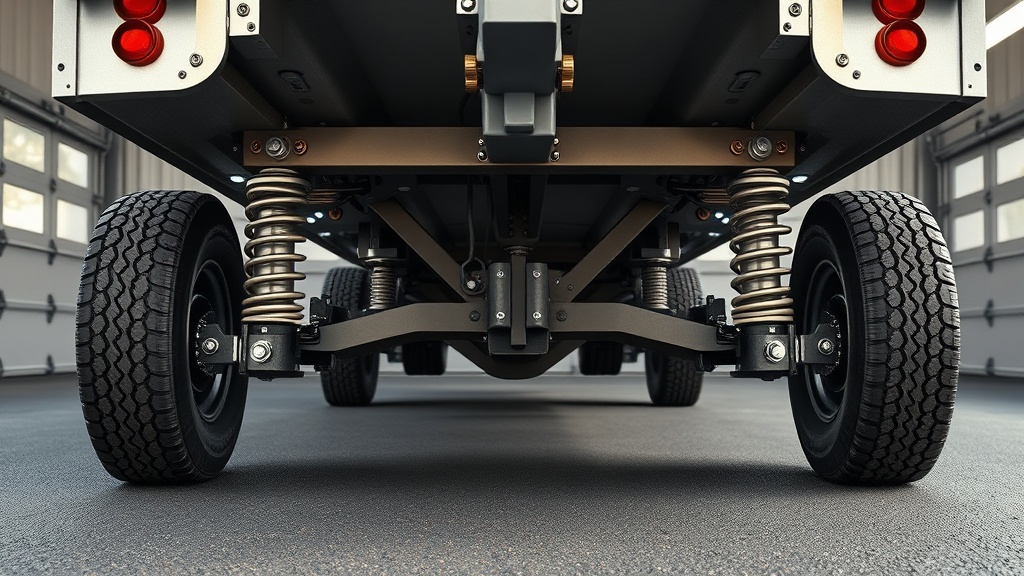
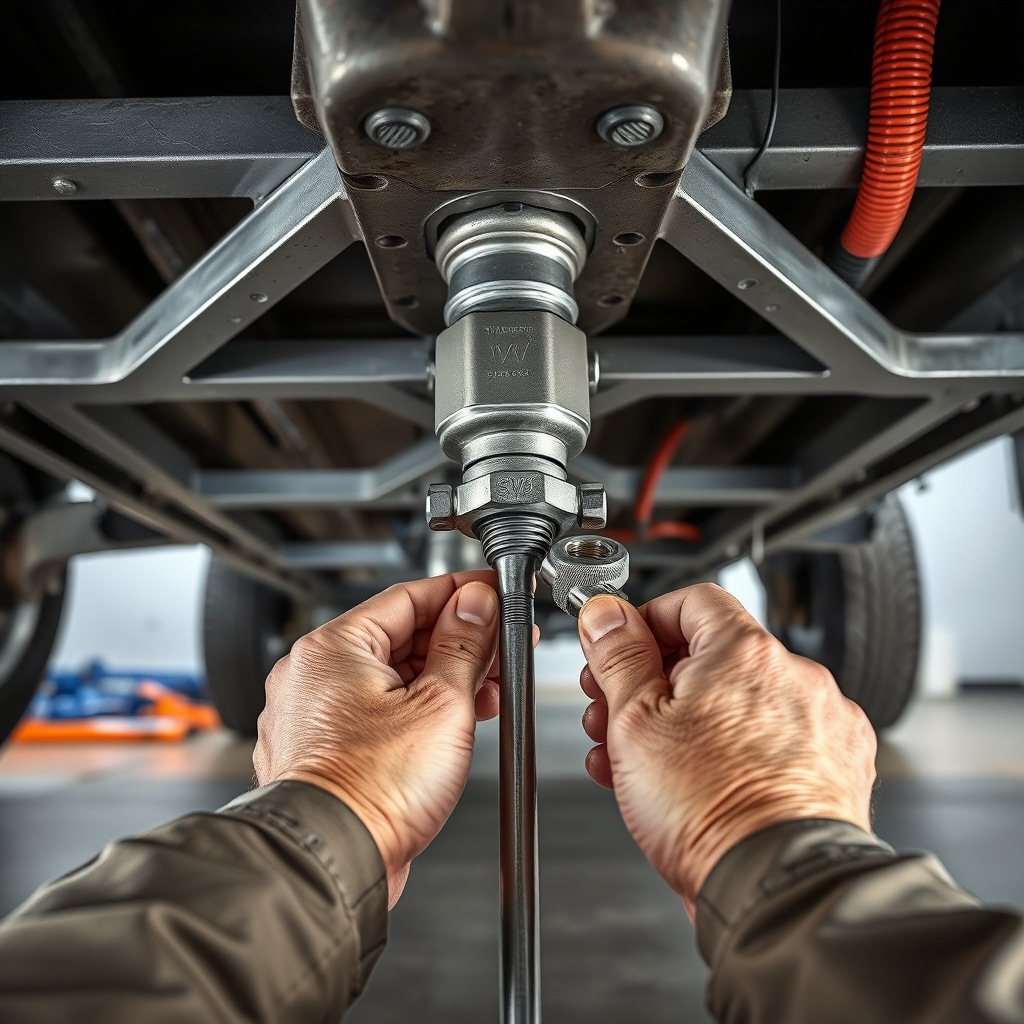
Assuming you’re retrofitting a leaf-spring trailer, the process follows a logical sequence. First, remove the old leaf springs and shackles. The HD3500SL replaces them entirely. Use a penetrating oil like WD-40 on stubborn bolts. Once the old hardware is off, clean the axle perch and frame mounting points with a wire brush. Next, attach the lower mounting bracket to the axle using the provided U-bolts. Torque these to 90 ft-lb for 1/2-inch U-bolts (common with 3,500-lb axles). Do not overtighten—threads strip easily on cast brackets. Now, position the rubber spring unit onto the lower bracket, aligning its grooved slot. Insert the pivot pin through the unit and bracket, securing it with the supplied cotter pin. Torque the pivot pin nut to 50 ft-lb. Finally, attach the upper bracket to the frame rail. This is where careful measurement matters: the upper bracket must be positioned so the rubber spring sits vertical under load. Use a level to check. Drill pilot holes, then bolt the bracket with 5/8-inch grade 8 bolts torqued to 95 ft-lb. Repeat for the other side.
How Do I Retrofit a Trailer Without Leaf Springs (Straight Axle Conversion)?
Retrofitting a trailer that never had leaf springs—like a torsion-beam or solid axle setup—requires additional fabrication. The HD3500SL relies on a rigid axle to transfer load, so you need a straight, square axle. If your trailer has a torsion axle, you must cut out the torsion arms and weld on a new straight axle tube. This is not a beginner job; consult a certified welder. For a solid axle conversion, the process mirrors the bolt-on steps above, but you must install axle perches. Purchase weld-on perches for 3,500-lb axles (usually 2-3/4-inch tube diameter). Weld them at the exact spacing specified in the kit’s template. Allow the welds to cool completely before assembling. Once perches are secure, follow the standard bolt-on procedure. A critical gotcha: ensure the axle is perpendicular to the frame; a misaligned axle causes constant tire wear and trailer sway. For detailed amp hookup and safety checks, refer to the brake controller compatibility guide to verify your electric brake magnets work with the new suspension geometry.
What Are the Most Common Installation Mistakes and How to Avoid Them?
| Mistake | Severity | Fix |
|---|---|---|
| Overtightening pivot pin nut (stretched threads) | High | Always use a torque wrench at 50 ft-lb; replace stripped pins immediately. |
| Improper upper bracket alignment (rubber spring angled) | Medium | Re-measure frame width; re-drill holes with a level. |
| Using grade 5 bolts for frame mounts | High | Only use supplied grade 8 or equivalent; torque to 95 ft-lb. |
| Ignoring axle centerline measurement | Medium | Mark axle center before removal; verify after installation via wheelbase check. |
| Failing to check brake wire clearance | Low | Route wiring away from moving parts; use zip ties. |
Avoid these pitfalls by reading the entire manual before starting. One overlooked detail is brake wire clearance—the suspension’s full travel can pinch wires if not routed carefully. For a deeper dive into load management post-install, see the weight ratings and load analysis article.
How Do I Test the Installation Before Loading the Trailer?
After bolting everything down, perform a dry test. Jack up the trailer so the suspension hangs free. Cycle the axle through its full travel by pushing down on the frame. Listen for any metallic grinding or rubbing. The rubber spring should compress smoothly without binding. Next, lower the trailer onto its wheels without any load. Measure the distance from the bottom of the frame to the ground at both front and rear. It should be equal within 1/4 inch. If one side sits lower, check that all bolts are torqued evenly. Then, load the trailer with a known weight—say 1,500 pounds—and recheck the frame height. The HD3500SL should maintain a nearly level stance. Test drive your tow vehicle on a smooth, empty road at low speed (15-20 mph) to feel for sway. If you detect pulsing from the brakes, it may indicate a shifted axle; revisit the axle capacity misconceptions guide for alignment tips. Finally, check all hardware torque after the first 100 miles.
What Do Owners Say About Installation and Performance?
Owner feedback on the Timbren HD3500SL installation is largely positive, but consistent themes emerge. Many praise the elimination of leaf spring sag. “My 7×16 tandem axle trailer used to squat 2 inches with a 3,000-lb load,” says Dave R., a contractor from Ohio. “Now it stays level. Installation took one afternoon—no welding needed.” Others caution about the importance of frame alignment. “I had to shim the upper brackets because my old trailer frame was twisted a degree,” writes a user on a popular RV forum. “After that fix, it rides like a new trailer.” A common complaint is the lack of included hardware for unusual axle tube diameters. “The U-bolts didn’t fit my 2.5-inch tube. Had to source 2.5-inch offset U-bolts separately.” Retrofit users note the need for precision welding. “Converting my torsion axle took two weekends and a pro welder. Worth it, but not a weekend bolt-on.” Overall, owners agree that the performance gains justify the effort, especially for heavy loads. For a full cost-benefit breakdown versus competitors, check the honest comparison and buyers guide.
Frequently Asked Questions
1. Can I install Timbren HD3500SL on a tandem axle trailer?
Yes, but each axle requires its own HD3500SL kit. You’ll need two kits for a tandem setup. Ensure both axles are aligned squarely to avoid tire scrubbing.
2. What torque spec for the pivot pin nut?
The pivot pin nut should be torqued to 50 ft-lb. Use a crush washer if supplied; omit if using a locknut. Check after 50 miles.
3. Do I need to remove the old leaf springs completely?
Yes. Timbren HD3500SL replaces the full leaf spring and shackle assembly. You can keep the original axle, but you must remove the leaves.
4. Will this work with electric brakes?
Yes, but run the brake wires carefully to avoid pinching. The suspension’s full travel requires extra slack. See the brake controller compatibility guide for wiring specifics.
5. Is welding required for a retro-fit on a torsion axle?
Typically yes. Torsion axles must be replaced with a straight axle and weld-on perches. For leaf-spring trailers, no welding is needed.
6. What is the cost of installation in US dollars?
A DIY installation costs $0 if you have tools, but typical shop rates are $150 to $300 per hour. A complete professional install ranges from $400 to $800 including alignment. The kit itself retails around $300 to $400 per side.