Dexter Nev-R-Adjust 10-72: Complete Installation & Retrofit Guide
Upgrading your trailer’s brake system is one of the most impactful maintenance decisions you can make, and the Dexter Nev-R-Adjust 10-72 assembly stands as a proven solution for eliminating manual brake adjustments. This guide covers everything from unboxing to final torque specs, ensuring a straightforward retrofit on most single-axle and tandem trailers.
What Makes the Dexter Nev-R-Adjust 10-72 Different from Standard Brake Assemblies?
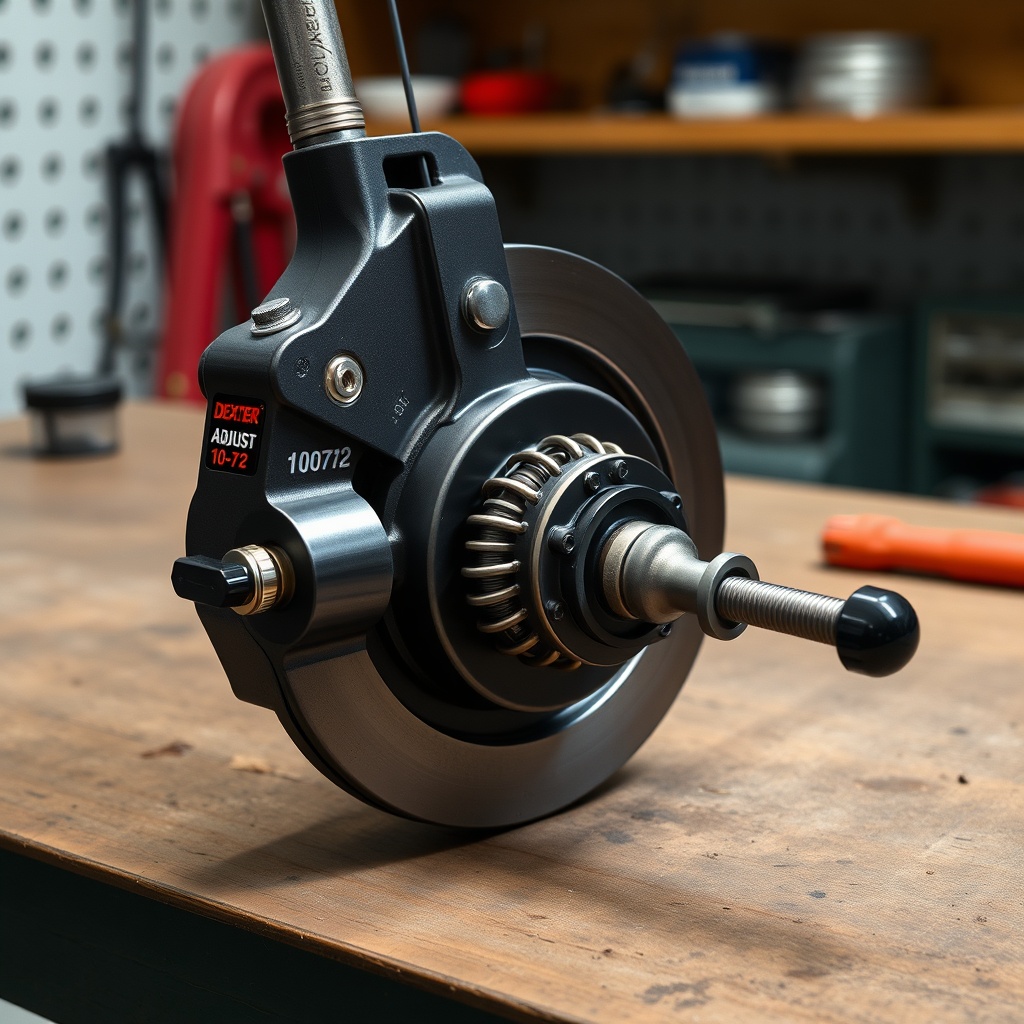
Traditional electric brake assemblies require periodic manual adjustment as brake shoes wear, leading to inconsistent braking and increased stopping distances. The Dexter Nev-R-Adjust 10-72 uses a self-adjusting mechanism that automatically compensates for lining wear, maintaining optimal shoe-to-drum clearance without driver intervention. This design extends brake component life and prevents the common “fade” that occurs when brakes fall out of adjustment during heavy-haul trips.
Which Trailers Are Compatible with the Dexter Nev-R-Adjust 10-72 Retrofit?
Compatibility largely depends on axle type, hub diameter, and existing brake configuration. The 10-72 designation refers to the 10-inch diameter drum and 2-1/4 inch wide brake shoes. This assembly fits most 3,500 lb to 5,200 lb rated axles that use a standard 10-inch drum. Common retrofit scenarios include:
- Utility trailers – Single-axle models used for landscaping or equipment hauling (e.g., 6×12 or 7×14 designs).
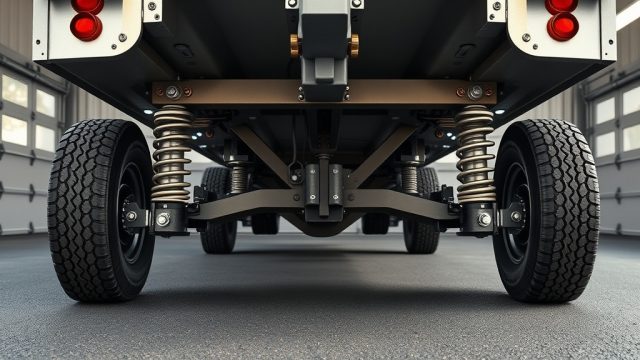
- Cargo trailers – Enclosed units up to 24 feet in length with tandem 3,500 lb axles.
- Boat trailers – Galvanized framed trailers needing salt-water corrosion resistance when paired with marine-grade drums.
- Fifth-wheel / travel trailers – Smaller to mid-sized RVs that require reliable braking for highway speeds.
Before purchasing, confirm your axle’s spindle diameter (typically 1-1/16 inch or 1-3/8 inch) and ensure the backing plate bolt pattern matches your axle flange. Use our Dexter Nev-R-Adjust 10-72: Safety Compliance & Towing Standards guide to verify regulatory requirements for your region.
Step-by-Step Installation: Removing the Old Brake Assembly
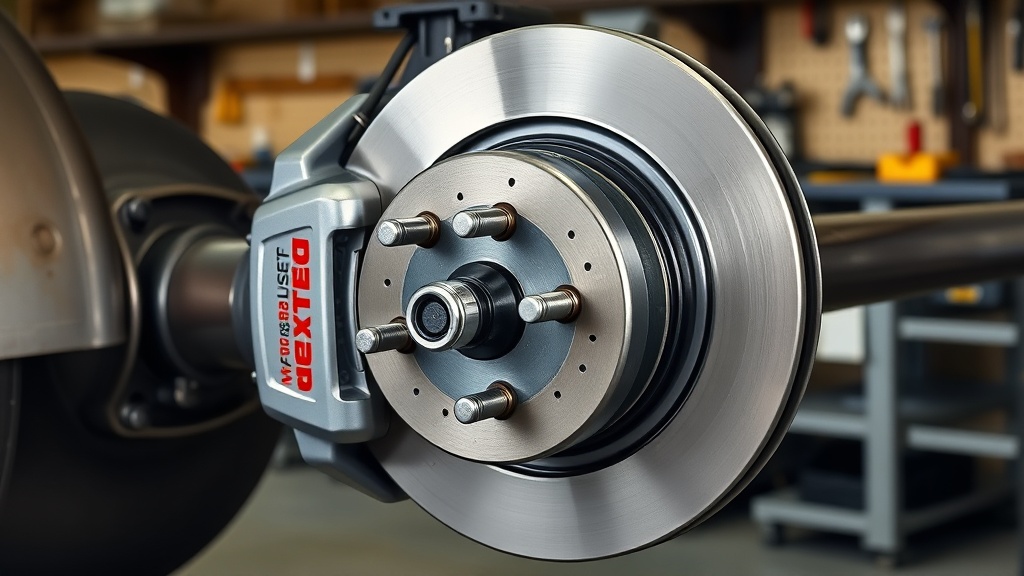
Begin by safely jacking and supporting the trailer on jack stands. Remove the wheel and tire, then extract the cotter pin and castle nut securing the hub. Slide the hub and drum assembly off the spindle. If the brake shoes are seized, use a brake spring tool to release tension. Disconnect the brake wire from the magnet lead—note the orientation for reconnection. Remove the old backing plate by unscrewing the four mounting bolts (typically 3/8-16 or 1/2-20 depending on axle).
Inspect the spindle for scoring, rust, or metal pitting. If damaged, replace the spindle or axle—installing new brakes on a compromised spindle leads to uneven wear and potential failure. Clean the spindle with brake cleaner and a wire brush.
Mounting the Dexter Nev-R-Adjust 10-72 Backing Plate
Align the new backing plate over the spindle, ensuring the magnet slot faces downward for proper ground path. Hand-thread the mounting bolts and tighten in a crisscross pattern to 30-35 ft-lb using a torque wrench. Do not overtighten—it can warp the backing plate and misalign the shoes.
For tandem axles, install the forward and rearward assemblies identically. Refer to our Dexter Nev-R-Adjust 10-72: Brake System Upgrade & Wiring Guide for wiring the magnet leads in series for electric-over-hydraulic or proportional controllers.
Wiring and Magnet Installation
Route the new magnet lead through the backing plate’s wire retention clip. Connect the lead to the trailer’s brake wire using heat-shrink butt connectors (do not use tape—vibration causes failure). Verify continuity with a multimeter: the magnet coil should read between 4.0 and 4.6 ohms. Reattach the hub and drum assembly, torque the spindle nut to 50 ft-lb, then back off 1/4 turn, install a new cotter pin, and snug to the nearest hole.
Initial Adjustment and Bedding Procedure
The self-adjusting mechanism eliminates manual adjustment, but initial setup is critical. Spin the hub forward slowly while applying 12V DC directly to the magnet lead (use a jumper wire from the trailer battery). The actuator should cycle the adjuster lever, producing a rhythmic clicking sound. After 10-15 clicks, the shoes should lightly drag against the drum—adjust the star wheel manually if the drag is excessive (loosen) or absent (tighten).
Perform a bed-in procedure: drive the trailer (loaded to 50-70% of its gross weight rating) at 30 mph and make 10 moderate stops (2-second deceleration) with 30 seconds of cooldown between each stop. This ensures the self-adjuster mechanism “learns” the shoe travel range.
| Specification | Value |
|---|---|
| Brake shoe width | 2-1/4 inches (57 mm) |
| Drum diameter (nominal) | 10.0 inches (254 mm) |
| Maximum gross axle weight rating | 5,200 lb |
| Adjuster type | Mechanical self-adjusting (star wheel + lever) |
| Magnet coil resistance | 4.0 – 4.6 ohms |
| Backing plate bolt pattern | 4-bolt (center-to-center: 2.625 in. or 3.875 in.) |
| Spindle nut torque | 50 ft-lb initial, then back off 1/4 turn |
| Housing material | Powder-coated mild steel |
| Self-adjuster travel range | 0.03 – 0.15 inches shoe-to-drum clearance |
Common Retrofitting Mistakes and How to Avoid Them
Even experienced DIYers make mistakes during retrofitting. Watch for these pitfalls:
- Incorrect magnet lead routing – Lead must exit the backing plate at the bottom to avoid chafing against the drum. Use a zip tie to secure the loose wire to the axle tube.
- Over-lubrication of the adjuster mechanism – Only apply a thin film of anti-seize to the star wheel threads. Excess grease attracts brake dust and clogs the self-adjuster.
- Ignoring axle flange corrosion – If the old backing plate bolts are rusted, the new bolts may not seat flush. Wire-brush the flange and apply thread-locker (Loctite 243) to prevent loosening.
- Using the wrong cotter pin – Always use a new, fully deformed steel cotter pin (not stainless steel, which can shear). Insert through the nut notch and spindle hole, then bend one leg up and one down.
For more troubleshooting, read Dexter Nev-R-Adjust 10-72: Lubrication & Sealing Best Practices for Heavy Hauling to ensure proper bearing grease application.
What Owners Say
Reviewers consistently praise the Dexter Nev-R-Adjust 10-72 for its “set-and-forget” reliability. One owner commented, “After three years of hauling a 5,000 lb boat, I’ve never touched the adjuster—braking feels as crisp as day one.” Others note that initial self-adjuster “settle-in” takes about 50 miles of mixed driving, but after that, no further manual adjustment is needed. A common critique is that the included brake shoes wear slightly faster than premium ceramic compound alternatives; many owners upgrade to ceramic shoes after the first replacement interval.
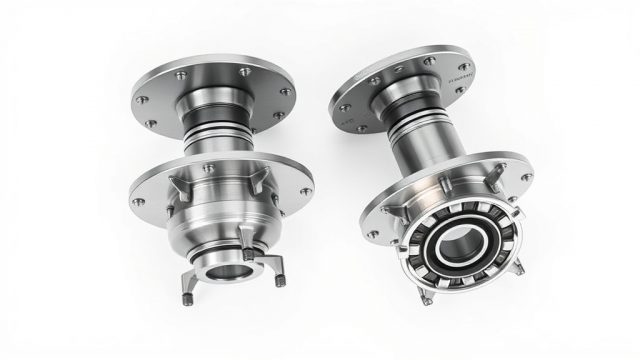
When compared to the Dexter Nev-R-Adjust 10-72 vs Timbren HD3500SL: Hub Assembly Comparison, users favor the Dexter for its lower cost and simpler installation—the Timbren requires a pre-loaded hub that can be trickier to pack with grease.
Frequently Asked Questions
Q: Can I retrofit the Dexter Nev-R-Adjust 10-72 onto a trailer with 12-inch drums?
A: No. This assembly is specifically designed for 10-inch drums. For 12-inch systems, use the corresponding Dexter Nev-R-Adjust 12-inch model (e.g., 12-88). Adapting the backing plate does not work due to different bolt circles and shoe arc lengths.
Q: Do I need to replace the hub and drum when retrofitting?
A: Only if your existing drums are severely worn (scored, out-of-round, or below minimum thickness of 1/8 inch). In most cases, you can reuse existing hubs and drums after deglazing with a drum hone. However, replace all bearings, races, and seals during retrofit—use genuine Dexter Dexter Nev-R-Adjust 10-72: Complete Maintenance Schedule & Checklist for part numbers.
Q: How long does the self-adjuster last?
A: Properly maintained, the adjuster mechanism typically matches the brake shoe lifespan (20,000 to 30,000 miles depending on use). Replace the entire assembly—including the adjuster lever and star wheel—when replacing shoes to prevent worn parts from skipping. Check our Dexter Nev-R-Adjust 10-72: Brake System Upgrade & Wiring Guide for replacement intervals.
Q: Can I use the Nev-R-Adjust with hydraulic surge brakes?
A: No. This assembly is designed for electric brake systems only (12V DC magnet). For hydraulic surge applications, use a dedicated hydraulic brake assembly such as the Dexter K21-476-00.
Q: What torque spec do I use for the backing plate bolts?
A: Always follow the print supplied with the kit. Typical values range from 30 to 40 ft-lb for 3/8-inch bolts, and 50 to 60 ft-lb for 1/2-inch bolts. Consult your axle manufacturer’s specification if in doubt—using a torque wrench is mandatory.
Q: The self-adjuster isn’t clicking during the initial spin test. What’s wrong?
A: First, ensure the magnet is receiving full voltage (12V). If it clicks but no engagement occurs, the adjuster lever may be bent or the star wheel frozen. Disassemble and lubricate the star wheel with a spray lithium grease, then re-check. If the lever does not spring back, replace the assembly.