Dexter Nev-R-Adjust 10-72: Lubrication & Sealing Best Practices for Heavy Hauling
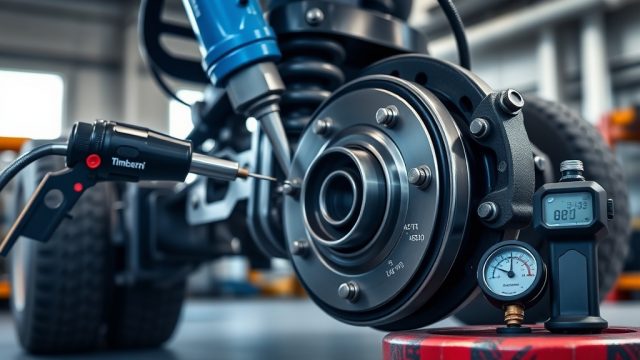
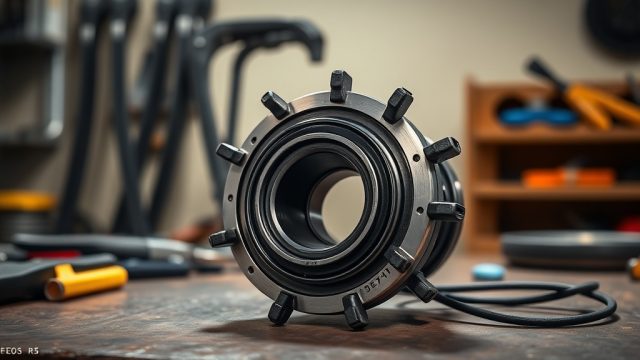
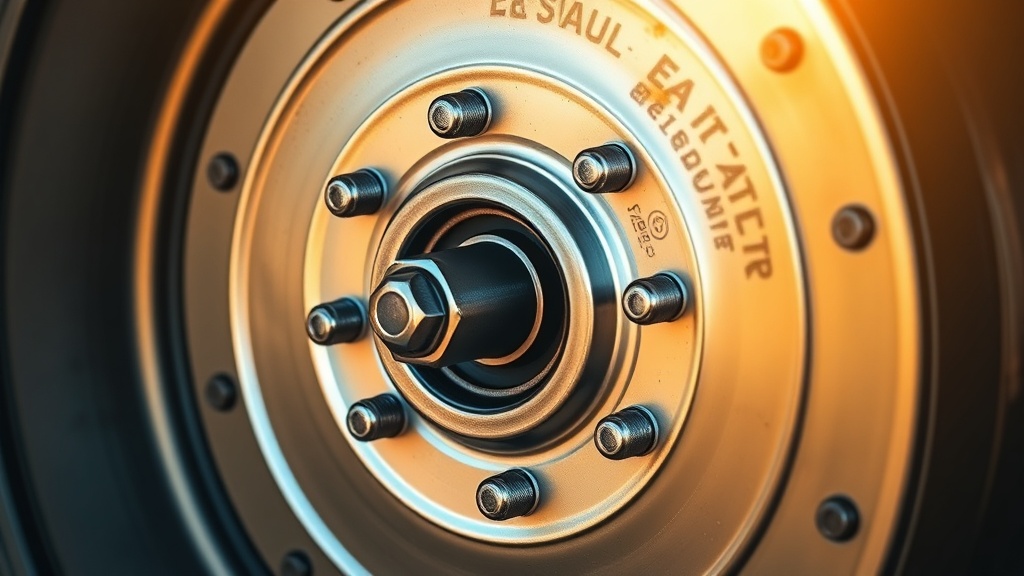
For heavy haulers, the Dexter Nev-R-Adjust 10-72 hub assembly is a cornerstone of reliable trailer performance, but its longevity hinges on meticulous lubrication and sealing. Overlooking these critical maintenance steps can lead to premature bearing failure, brake contamination, and costly downtime. This guide outlines the essential practices for keeping your 10-72 hubs rolling smoothly under maximum loads.
Why Is Proper Lubrication Critical for the Dexter Nev-R-Adjust 10-72 Under Heavy Loads?
Heavy hauling places extreme stress on wheel-end components. The Dexter Nev-R-Adjust 10-72 uses a patented self-adjusting mechanism that reduces gap variations between bearings, but this system relies entirely on consistent lubrication. Without it, the bearings face metal-on-metal contact, generating heat that can warp the hub or cause seizure. High-quality grease (NLGI #2 with extreme pressure additives) reduces friction, dissipates heat, and prevents corrosion. For loads exceeding 8,000 lbs per axle, consider synthetic grease rated for high-temperature stability (up to 300°F). A typical heavy hauling rig requires approximately 2.7–3.2 oz of grease per hub during repack.
What Are the Best Sealing Practices to Prevent Contamination in the 10-72?
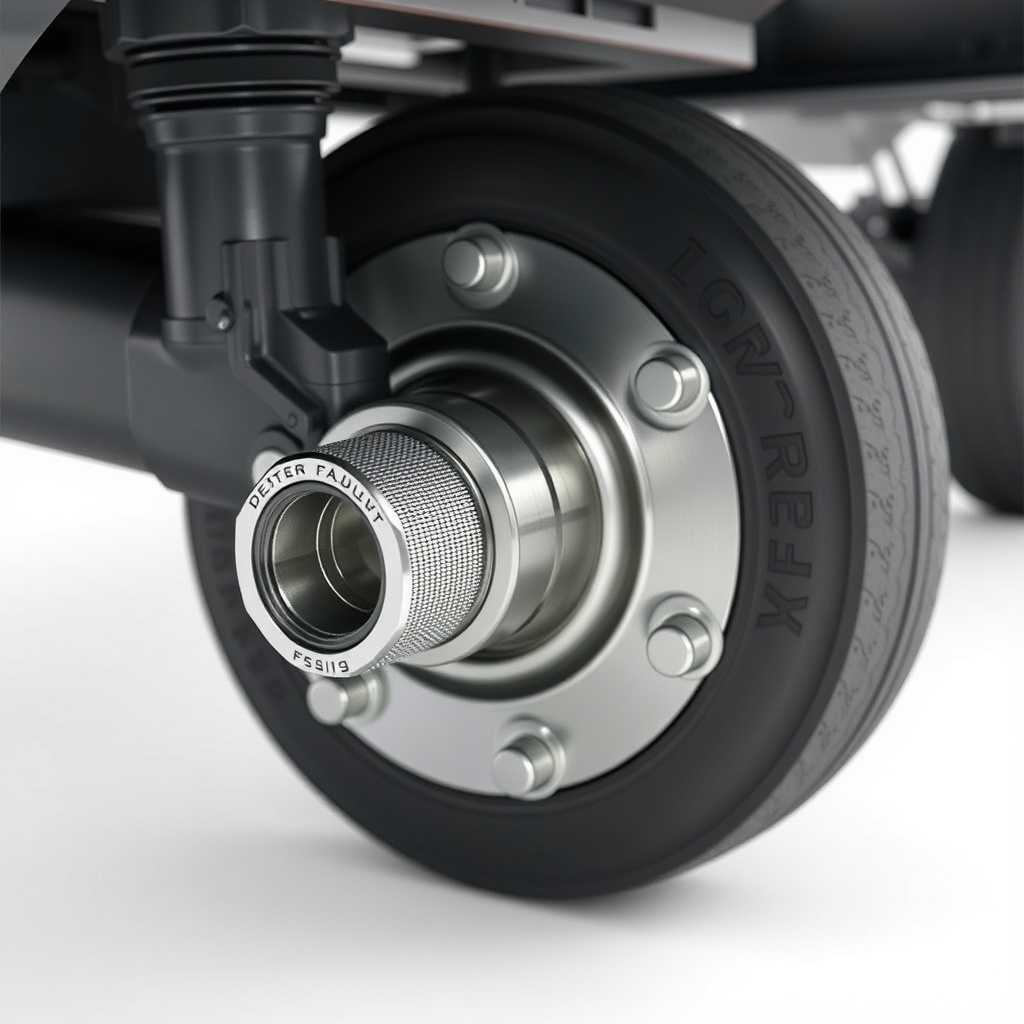
Sealing is your first defense against road dust, water, and brake dust. The Dexter Nev-R-Adjust 10-72 uses a double-lip seal behind the outer bearing and an inner axle seal. For heavy hauling, upgrade to a PTFE-coated seal (e.g., Dexter part #69000) for better chemical resistance. Always inspect seals after every 1,000 miles or following a water crossing. A common failure point is the outer seal lip, which can dislodge if the hub is over-tightened. Use a torque wrench to set the nut to 50–80 ft-lbs, then back off ¼ turn, per the factory spec. Replace seals anytime the hub is disassembled—reusing them risks leakage.
Additionally, ensure the vent cap on the hub is clean and functional. Clogged vents cause pressure build-up, forcing grease out past the seals. For dusty environments, install a filter-equipped vent cap (Dexter #49014) that traps particles while allowing equalization.
How Often Should the Dexter Nev-R-Adjust 10-72 Be Relubricated for Heavy Hauling?
Heavy haulers should follow a stricter schedule than standard RV or utility trailers. For loads over 12,000 lbs gross, relubricate every 6 months or 5,000 miles, whichever comes first. For lighter heavy-haul applications (8,000–12,000 lbs), every 12 months or 10,000 miles is acceptable. Here’s a lubrication frequency comparison table based on usage type:
| Usage Type | Load Range (Gross Weight) | Lubrication Interval | Seal Inspection Interval |
|---|---|---|---|
| On-Road Heavy Hauling | 10,000–15,000 lbs | Every 6 months / 5,000 miles | Every 3,000 miles |
| Off-Road/Construction | 8,000–14,000 lbs | Every 4 months / 4,000 miles | Every 2,000 miles |
| Agricultural Hauling | 12,000–18,000 lbs | Every 3 months / 3,000 miles | Every 1,500 miles |
Always cross-reference with your trailer’s OEM specifications, especially if using a Dexter Nev-R-Adjust 10-72 with aftermarket axles.
Which Grease Type and Volume Works Best for the Dexter Nev-R-Adjust 10-72?
Not all greases are equal for self-adjusting hubs. The Dexter Nev-R-Adjust 10-72 requires a lithium-complex or polyurea-based NLGI #2 grease with high dropping point (above 350°F). Avoid molybdenum disulfide (moly) greases as they can interfere with the self-adjusting clutch mechanism. Recommended products include Lucas X-Tra Heavy Duty Grease ($8.99/14 oz tube) or Mobilux EP 2 ($6.50/lb). Fill the hub cavity to ⅔ full for oil bath hubs, or pack bearings until grease emerges from the cone for standard setups. A typical 10-72 drum brake hub uses about 3.2 oz per side; for electric brake models, reduce to 2.5 oz to avoid brake drag.
When relubricating, pump fresh grease through the Zerk fitting until new grease appears at the inner seal (visible through the inspection port on dust caps). This flushes out old, dried grease that can cause vanadium-starvation wear.
How Do You Diagnose a Failed Seal or Lubrication Problem in the 10-72?
Warning signs include grease leaking from the dust cap, accumulated brake dust mixed with grease on the backing plate, or unusual hub temperature (touch-test: 150°F+ is cause for concern). For heavy haulers, consider adding a temperature-indicating sticker (below $15 per hub) that changes color at 180°F. If you hear a clicking noise during turns, the clutch may be slipping due to over-lubrication or a collapsed seal. Inspect the inner axle seal for cracks or hardening—replace immediately if found.
Cross-reference with our bearing selection and care guide to ensure replacement parts meet grade 10 specifications. For severe cases, use a borescope to check the inner seal without disassembly.
What Are the Sealing and Lubrication Steps During Brake Service on the 10-72?
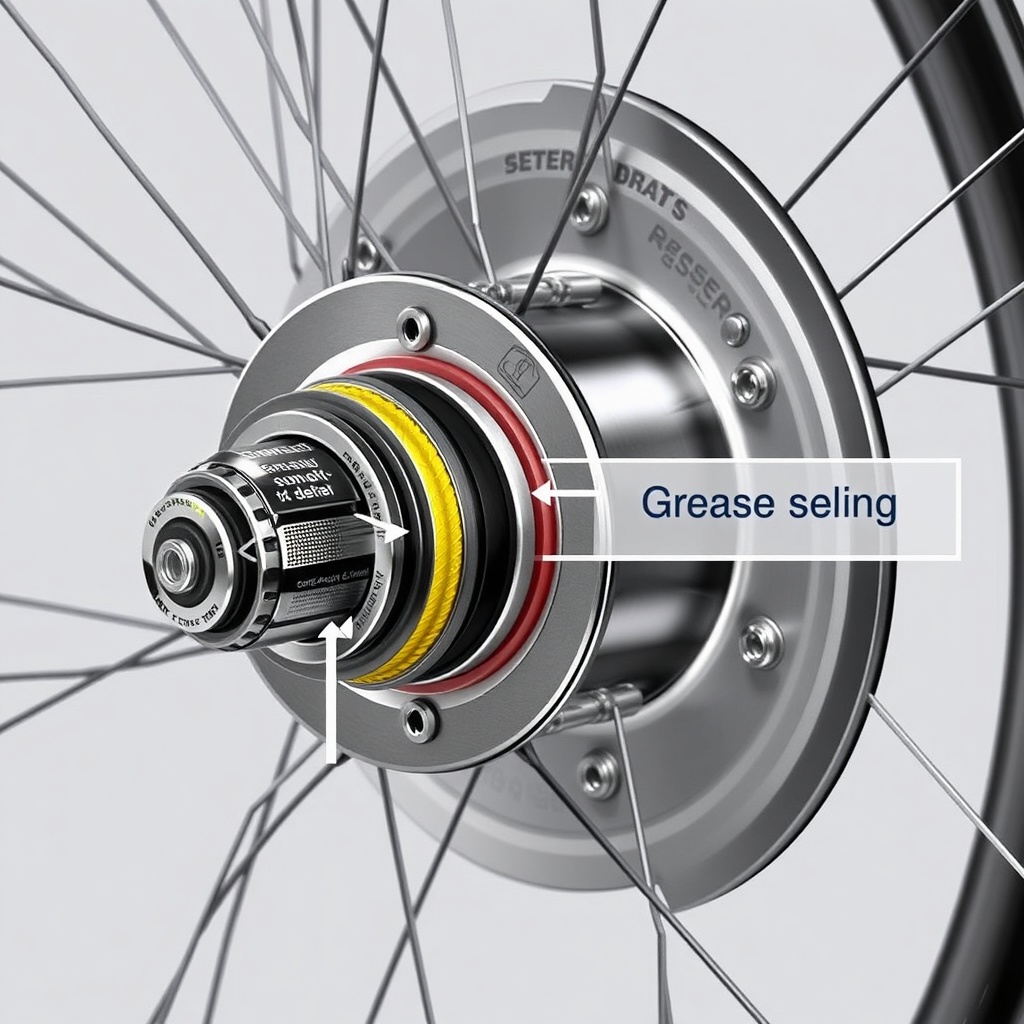
When replacing brake shoes or magnets on the Dexter Nev-R-Adjust 10-72, always follow these lubrication-sealing steps:
- Remove the hub, then clean the spindle with a non-residue solvent (like CRC Brakleen). Apply a thin layer of grease to the spindle’s bearing landing surfaces—do not overdo it.
- Inspect the wheel seal: if deformed, replace it with a Dexter-branded seal (part #223926 for standard, or #69000 for heavy-duty). Torque the nut to 50 ft-lbs, then back off ¼ turn, then re-torque to 25 ft-lbs.
- Install a new dust cap with a fresh O-ring; the 10-72 dust cap should be hand-tightened plus 1/8 turn to avoid cracking.
- After hub reassembly, pump in grease until fresh grease appears at the inspection port. Road-test for 5 miles, then check for leaks.
For electric brake installations, see our complete wiring guide to ensure magnet clearance isn’t compromised by excessive grease.
What Owners Say
Heavy haul operators on forums like Trailer Hub Central report that the Dexter Nev-R-Adjust 10-72 saves 1–2 hours per axle during brake jobs compared to manual-adjust hubs, but note that grease leakage is a recurring complaint. “I run twin 12,000 lb axles for a gooseneck hauling rock. At every oil change, I relube the 10-72s. I switched to Lucas grease and haven’t had a seal blow since,” says Darren M., a contract hauler in Texas. Others caution against cheap Chinese seal replacements: “Buy OEM only. Aftermarket seals fail at 6 months.” Another owner upgraded to the heavy-duty dust cap kit (Dexter #49014-2) and reports zero contamination after 18 months of off-road use. To compare hub performance with aftermarket alternatives, see our comparison with Timbren HD3500SL.
Frequently Asked Questions
Q: Can I use oil bath lubrication instead of grease for the Dexter Nev-R-Adjust 10-72?
A: No. The 10-72 is designed exclusively for grease lubrication. Oil bath hubs require different seals and a sealed bearing system; using oil will damage the self-adjusting clutch.
Q: How do I check if my seals are failing before a trip?
A: Look for a “gooey” feel behind the brake backing plate, or a flicker of grease near the axle flange. A temperature check with an IR gun (touch probe optional) on the hub center after 20 minutes of highway driving should read 110–130°F; anything above 170°F indicates a lubrication issue.
Q: What is the typical cost to replace seals on a Dexter Nev-R-Adjust 10-72?
A: A dealer-installed seal replacement (parts + labor) runs $180–$250 per axle in the US market. DIY using OEM parts: $35 for two seals + $15 for a tube of grease = about $50/side.
Q: Is the Dexter Nev-R-Adjust 10-72 compatible with synthetic grease?
A: Yes. Use synthetic NLGI #2 without moly or graphite additives. Synthetic grease flows better in cold climates and resists heat degradation better than petroleum-based blends.
Q: Do I need to relubricate after every water crossing?
A: Yes, if the hub vent was submerged. Flush with fresh grease through the Zerk until the old grease (contaminated with water) is purged. Check the seal for damage after each fording.
Q: What is the recommended grease pressure for the Zerk fitting on the 10-72?
A: Use a hand grease gun with a max 7,000–10,000 psi pressure rating. Avoid pneumatic guns—they can blow the inner seal out if you apply more than 15 pounds of force.