Introduction
The Dexter Nev-R-Adjust 10-72 brake assembly is the backbone of reliable stopping power for heavy-duty trailers, yet its “never adjust” design doesn’t mean maintenance-free operation. Many owners discover too late that skipping the recommended services leads to premature bearing wear, brake fade, or even total hub failure. This comprehensive maintenance schedule and checklist breaks down every critical service interval, from annual lubrication to seasonal inspections, ensuring your 10-72 delivers consistent performance across thousands of miles. Whether you’re hauling equipment across state lines or managing a fleet of utility trailers, following this guide will extend the lifespan of your brake system and keep your payloads secure.
What is the recommended maintenance interval for Dexter Nev-R-Adjust 10-72 brakes?
Dexter specifies that the Nev-R-Adjust 10-72 assembly requires an inspection every 12 months or 12,000 miles (whichever comes first), though heavy-use trailers—those logging over 20,000 miles annually or pulling loads near the axle’s weight distribution limits—should shorten that to 6 months. The integrated “never adjust” mechanism uses a star-wheel actuator that compensates for lining wear automatically, but the hydraulic system still needs bleeding every 24 months to prevent moisture contamination. For trailers stored outdoors in humid climates, seasonal checks before and after winter storage are non-negotiable to prevent rust from seizing the adjuster components.
How do you perform a complete bearing inspection on the 10-72?
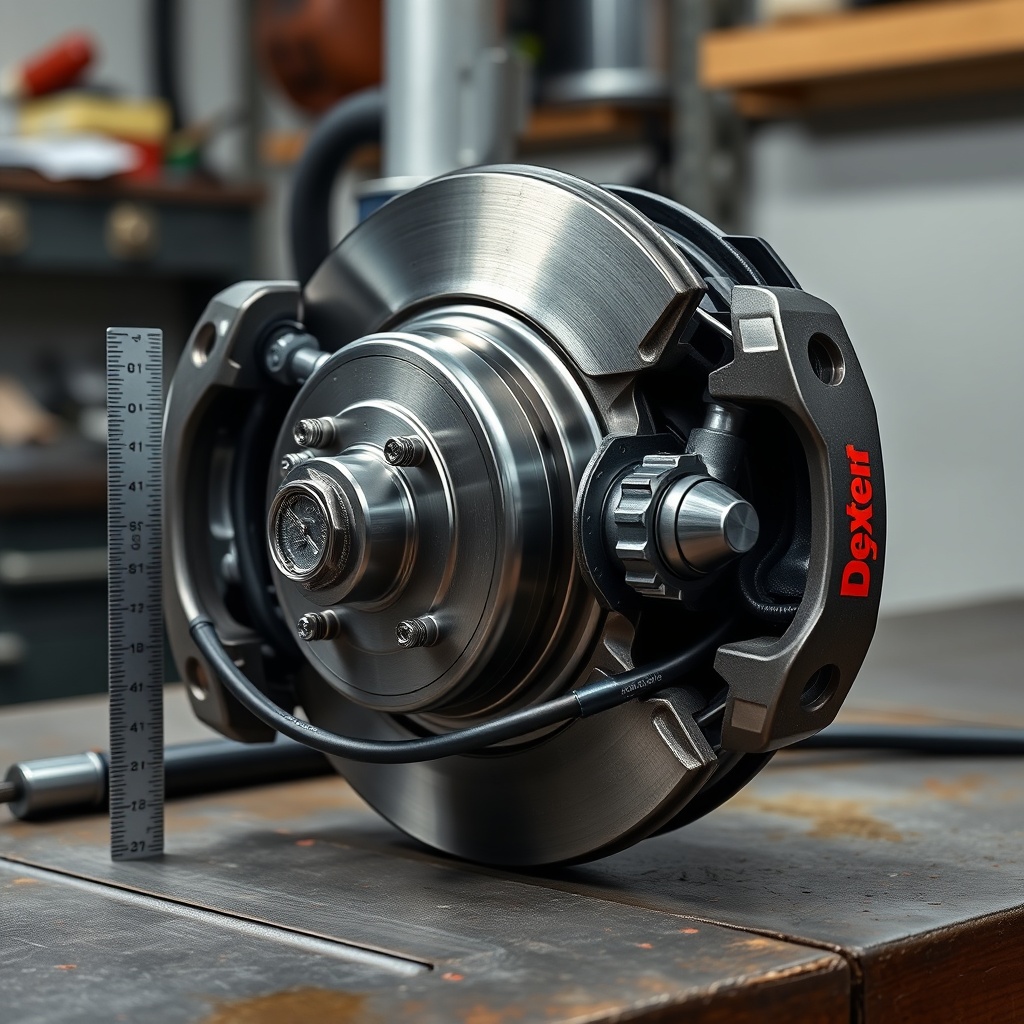
Bearing care is the most overlooked aspect of the Nev-R-Adjust 10-72 system. Start by jacking the trailer securely and spinning each wheel, listening for grinding or clicking. Remove the hub cap and inspect the spindle nut torque—Dexter calls for 40-50 ft-lbs on the inner nut, backed off 1/4 turn, then 25-35 ft-lbs on the outer jam nut. Pull the bearings outward and check for pitting, spalling, or bluing on the rollers; replace any that show wear with properly rated bearing sets for your load class. Clean the inner and outer races with solvent, repack with high-temperature wheel bearing grease (NLGI #2), and reassemble with a new cotter pin. The table below summarizes the severity levels of common bearing issues:
| Issue | Severity | Required Action |
|---|---|---|
| Slight discoloration | Low | Clean, repack, monitor at next inspection |
| Pitting or flaking | Medium | Replace bearing; inspect race for damage |
| Spalling (metal flakes) | High | Replace bearing and race; flush hub entirely |
| Blue/temper color | Critical | Overheating—replace bearing, race, and inspect brake components |
When should you replace the brake shoes and hardware on the Nev-R-Adjust 10-72?
Brake shoe replacement is driven by lining thickness, not mileage. Use a caliper to measure the friction material at three points on each shoe—replace when thickness drops below 1.5 mm (1/16 inch) at any point. The self-adjusting star wheel on the 10-72 keeps the shoes at a consistent gap, but if you notice a dragging sensation or inconsistent braking, inspect the adjuster pawl for wear or corrosion. Replace the entire backing plate kit (shoes, springs, adjuster, and hardware) as a set every third shoe change or after 60,000 miles, whichever comes first. For trailers experiencing persistent brake noise issues, check the anti-rattle clips—these are often the first to fatigue under heavy braking loads.
What lubrication points require attention on the 10-72 assembly?
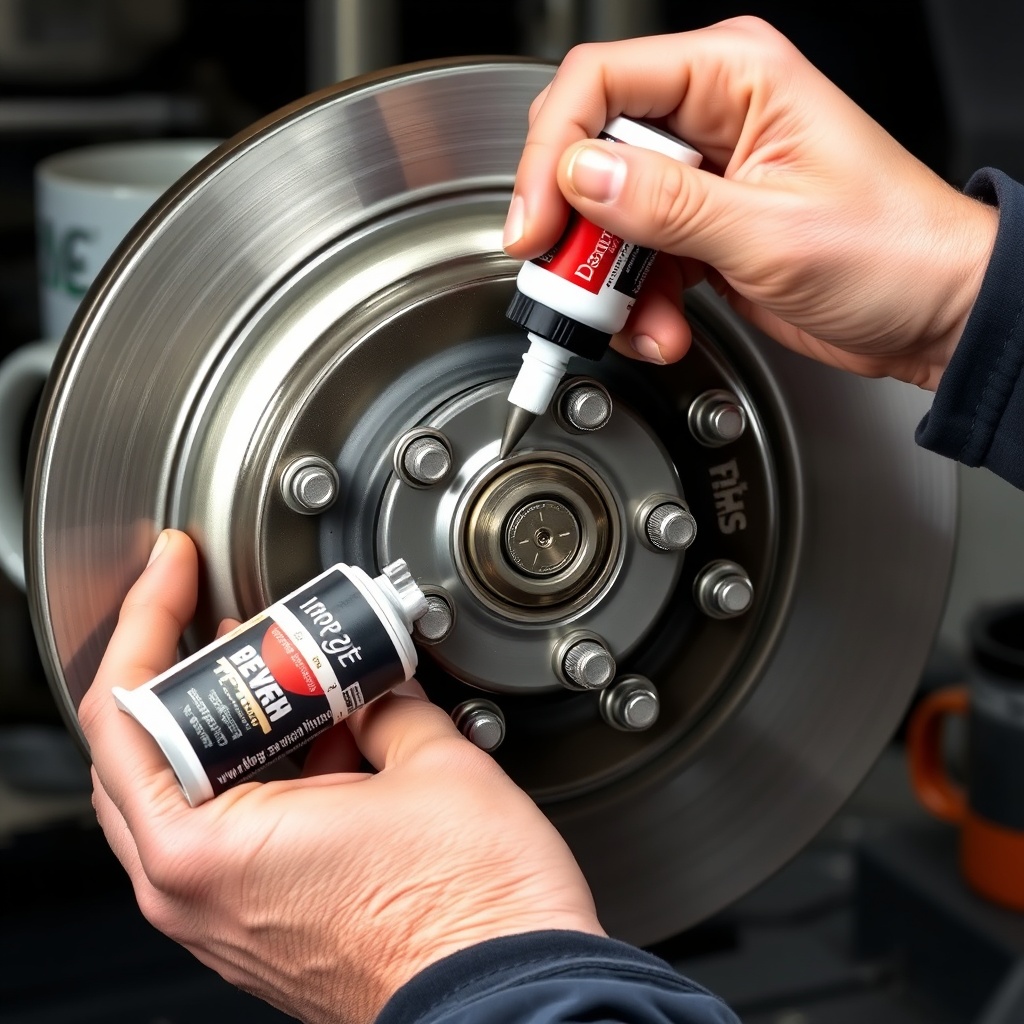
Surprisingly, the Dexter Nev-R-Adjust 10-72 has only two primary lubrication points: the wheel bearings (greased during bearing service) and the adjuster pivot. Apply a light coat of high-temp disc brake grease (not silicone) to the adjuster’s star wheel threads and pivot pin every 12 months—this prevents corrosion from jamming the self-adjustment mechanism. Do not grease the brake shoe contact points; the friction between shoes and backing plate is intentionally dry to maintain self-adjusting function. For hubs with sealing requirements like dust shields or brake backing plates, check the gasket condition annually and replace if cracked or compressed. A common mistake is over-greasing, which can contaminate the brake drum’s friction surface and reduce stopping power by 30% or more.
How do you bleed the hydraulic brake system on the 10-72?
The Nev-R-Adjust 10-72 uses a standard hydraulic actuator, typically paired with Dexter’s own coupler or a third-party brake controller. Bleeding is required every 24 months or when brakes feel spongy. Secure the trailer, remove the dust cap from the wheel cylinder bleed screw (usually located at the top of the backing plate), and attach a clear hose submerged in a container of DOT 3 or DOT 4 brake fluid. Have an assistant pump the trailer brakes 5 times and hold; open the bleed screw 1/4 turn until fluid flows without air bubbles, then close. Repeat for each wheel in order: left rear, right rear, left front, right front (based on the axle configuration). Always check the master cylinder reservoir level and fill with fresh fluid from a sealed container. Never reuse old brake fluid—moisture absorption drops its boiling point dangerously. After bleeding, test the brakes at slow speeds to ensure equal pressure on all wheels.
What owners say about maintaining the Dexter Nev-R-Adjust 10-72
Long-time users consistently praise the 10-72’s durability but note that the “never adjust” feature is misnamed. “I thought I could ignore it for five years, but the adjuster seized up in my second season,” shares Mark T., a farm equipment hauler from Iowa. “Now I grease the star wheel every fall and it’s flawless.” Another owner, Lisa R. from Texas, emphasizes the bearing checks: “Lost a hub on a highway because I didn’t catch the spalling—replaced with proper matched bearing sets for the 10-72 and zero issues since.” Common themes include the importance of using Dexter-specified seals and avoiding generic gaskets—several owners report moisture ingress from mismatched parts. Overall, the consensus is that with proactive maintenance (especially the 6-month interval for heavy loads), the Nev-R-Adjust 10-72 delivers 100,000+ miles of reliable service.
Frequently Asked Questions
Q: Can I use synthetic grease on the adjuster mechanism?
A: Yes, synthetic NLGI #2 grease is fine for the adjuster pivot and star wheel threads, but avoid copper-based anti-seize compounds as they can attract moisture and corrode the mechanism.
Q: How do I know if the self-adjuster is working?
A: Jack up the wheel and spin it—a properly adjusted brake should have a slight drag (1-2 revolutions by hand). If the wheel spins freely or locks, the adjuster may be stuck. Listen for clicking when applying the brake while rotating; no click suggests a jammed star wheel.
Q: What brake fluid type does the 10-72 require?
A: Use DOT 3 or DOT 4 brake fluid—never DOT 5 silicone fluid, as it can swell the seals in the wheel cylinders and master cylinder. Check your Dexter actuator’s manual; most compatible with DOT 3.
Q: Can I replace just the shoes without changing the drums?
A: It’s recommended to measure drum runout and inner diameter—if beyond 0.005 inch or scored, replace drums. Shoe wear often mirrors drum condition; reusing worn drums reduces braking efficiency and shortens new shoe life.
Q: How tight should the wheel bearings be after service?
A: For the 10-72’s 10k lb axle, tighten the inner nut to 40-50 ft-lbs while spinning the wheel, then back off 1/4 turn. Install the outer jam nut and tighten to 25-35 ft-lbs. There should be 0.001-0.005 inch end play measured with a dial indicator.
Q: Is the Nev-R-Adjust 10-72 compatible with electric-over-hydraulic systems?
A: Yes, it works with most electric-over-hydraulic controllers, but check the actuator’s maximum pressure rating—some aftermarket units may require additional modulation or a pressure relief valve to prevent over-stroking the adjuster.